
Embarking on an interior house painting project is an exciting endeavor that can dramatically transform the appearance and ambiance of your home. Whether you aim to refresh a single room or revamp your entire house, the right approach to painting can make all the difference in achieving professional-looking results.
From selecting the perfect color palette to applying the final touches, each step in the painting process holds its own importance. In this comprehensive guide, you’ll discover essential tips that will help you navigate through your painting project with ease and confidence. Let’s dive into some of the core aspects of interior house painting, designed to help you achieve impeccable finishes.
Picking the Right Paint and Tools
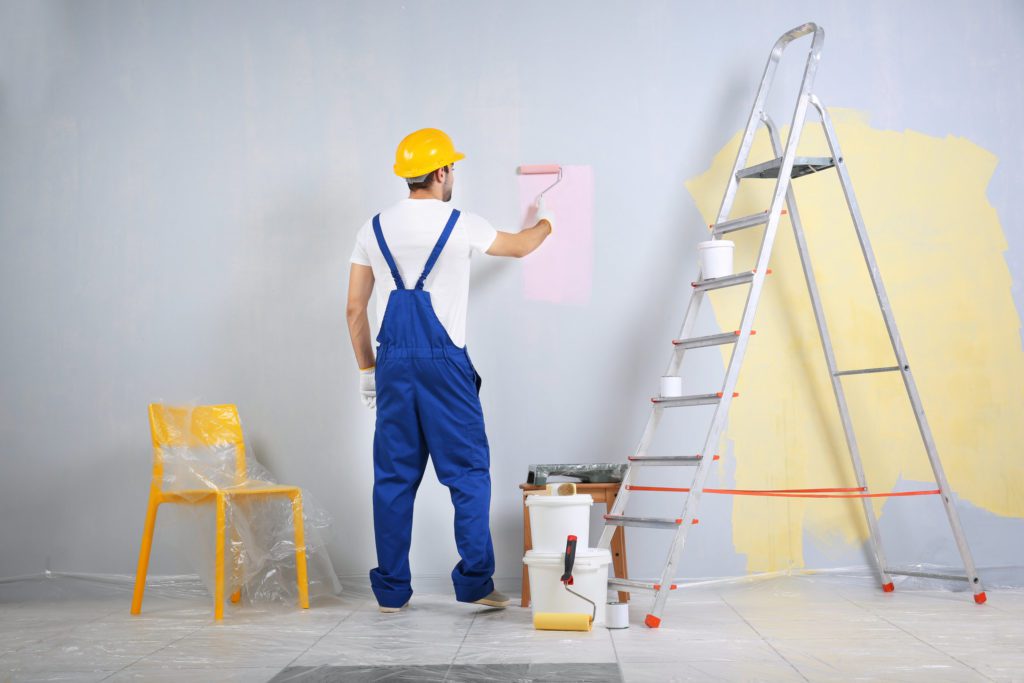
Choosing the correct type of paint and tools is foundational to the success of your painting project. When selecting paint, consider both the finish — matte, eggshell, satin, semi-gloss, or gloss — and the quality of the paint. Higher-quality paints provide better coverage and durability. Essential tools include rollers, brushes of various sizes for detailed work, painter’s tape for clean edges, and drop cloths to protect your furnishings and floors. To ensure optimal results, consider visiting Top-rated Interior House Painters Melbourne for professional advice on paint and tool selection.
Also, invest slightly more on high-quality brushes and rollers as they typically yield a smoother finish without much splatter. Don’t forget essentials like a sturdy ladder, a roller tray, sandpaper for prepping surfaces, and potentially an extension pole for high walls and ceilings.
Preparation is Key
The success of your painting project largely depends on how well you prepare your surfaces. Start by removing furniture or covering it with drop cloths or old sheets to avoid paint splashes. Walls need to be clean, smooth, and free from dust or grease. Fix any holes or cracks with filler and sand them down once dry. Use painter’s tape along edges where walls meet trimmings, ceilings, and other surfaces to ensure clean lines.
Effective preparation also includes priming your walls, especially if you are making a dramatic color change or painting over a darker shade. Primer helps to hide imperfections, provides a smooth base for your topcoat, and enhances paint adhesion, resulting in a more uniform appearance.
Technique Matters: Painting Like a Pro
When it comes to actual painting, technique can significantly affect the quality of your finish. Always start from the top (ceilings) and work your way down to avoid dripping paint on freshly painted surfaces. Use a brush to cut in at corners and edges before using a roller to cover larger flat surfaces for an even coat.
Apply paint in overlapping W or M-shaped strokes to spread it evenly. Avoid overloading your brush or roller as it may cause drips. For best results, apply multiple light coats instead of one thick coat, allowing ample drying time between each layer. Layering thin coats produces more durable and attractive outcomes.
The Importance of Lighting
In interior painting, lighting plays a crucial role in how colors appear in different environments. Natural daylight shows the truest color, so consider painting during daytime conditions or simulate this type of light with high-spec LED lamps if necessary. Look at your paint samples under various lighting conditions within your home before making final decisions.
Remember that colors can look drastically different under artificial lighting compared to natural light; bright blue might seem more subdued under a soft incandescent bulb. Test large patches on walls to see how colors behave throughout the day under varying light levels.
Maintenance: Ensuring Long-lasting Beauty
Once your paint job is complete, maintaining it will ensure its beauty lasts for years to come. Clean painted walls gently with a soft cloth or sponge and avoid harsh chemicals that could damage the surfaces. Address mishaps such as smudges or stains immediately — using mild detergent if necessary.
To keep colors vivid and walls clean longer, consider using higher sheen finishes in rooms prone to humidity or where walls get touched frequently such as kitchens and bathrooms. Regular maintenance also includes periodic touch-ups on areas prone to wear-and-tear like baseboards or door frames.
To conclude our how-to guide on interior house painting, embracing these practices will not only yield visually appealing results but will also enhance the longevity and durability of your finishes. Each phase from preparation through maintenance plays a pivotal role in achieving that professional look even in DIY projects.
Relying on high-quality supplies and techniques ensures that every brushstroke contributes towards turning your house into a visually stunning home. Smooth finishes begin with careful planning but thrive on thorough maintenance; remember this golden rule as you revel in your home’s new appeal!